
How to Make a Mermaid Tail
- Bryn

- May 2, 2020
- 6 min read
If you’ve read my post about how I became a mermaid, you know it took several years for me to get up the courage to make a mermaid tail on my own. I gained life experience, I grew in confidence, and I realized life is too short to not make my own mermaid tail - especially since I had so much research under my belt. It only took about 7 years. So what if people think I’m weird? I shouldn’t care, and even if I accidentally did care, at least I’m a mermaid. I also realized that if I was going for perfection, I would be sorely disappointed. I needed to allow myself to compromise and remember that I was just a beginner on a budget.

I am by no means an expert or professional tail maker, but I want to share my story. Certain things were very important to me:
1. I wanted to make a tail, not buy one. I wanted something one of a kind that I could be proud of.
2. It had to balance form and function. I wanted to swim fast and look pretty traditional.
3. I wanted to be thrifty and save money. If I made mistakes, I wouldn’t be so upset starting over.
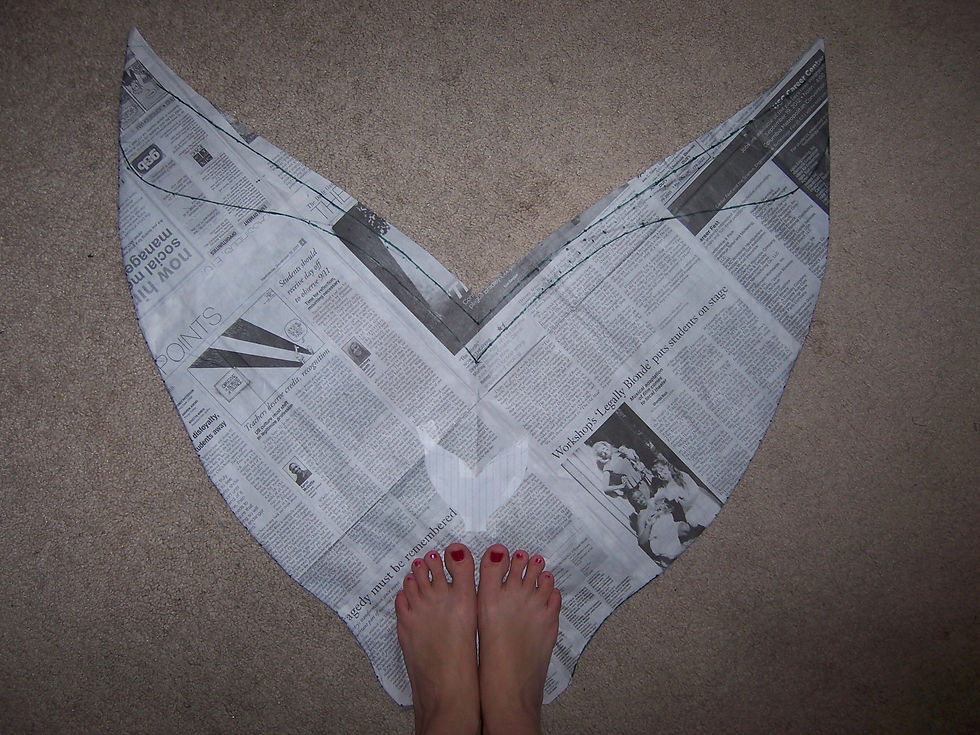
I had to start with a fin. That much was clear. I had seen people use regular recreational snorkeling flippers, professional freediving monofins, and I had researched how polycarbonate monofins are made and ways to make them at home. I was lucky enough to be gifted a Finis Wave monofin, but I struggled with the idea of using it in a mermaid tail and possibly damaging it. If I made it part of the tail, I wouldn’t be able to use it as a monofin alone. After toying with making monofin foot pockets and even shaping a Lexan polycarbonate sheet into a whale tail shape, I finally decided I would use my trusty Wave and make it removable. I made minimal modifications. I cut about an inch off the end to make it more of a straight edge and less of a manatee tail shape. I cut off maybe a half inch from the back edge of the foot pockets so that I could really arch my feet and my toes could point as far as possible. I also tightened the adjustable heel straps and secured them with tight rubber bands.

I still didn’t love the shape of the fin, and I knew it didn’t measure up to the dimensions of the flukes on professional tails I had loved for years. I wanted it to be wider at the bottom, but had trouble finding a material that would work with the functionality. It had to be strong near the foot pockets and hold its shape while I swam. I also needed a way to lengthen the fluke to create the whale tail shape without cutting up the middle of my monofin. I worried it would affect the propulsion and make it more susceptible to damage. I gave up on the idea of widening the fluke with extra material, but I managed to find two types of plastic that would lengthen the ends of the fluke and create the right shape. I only wanted a bit of bend at the end of the fluke, so I put a thicker plastic closest to the edge of the monofin and a thinner plastic that made up the furthest edge of the fluke. This way, when I was on land, the fluke would stand up without help and not flop over. In water, that little bit of bend gave it a nice flow and didn’t sacrifice propulsion or cause too much drag. These plastic pieces were attached to the neoprin body of the tail with E6000 craft glue. I had tested it on different fabrics in the washing machine and was pretty confident it would hold.
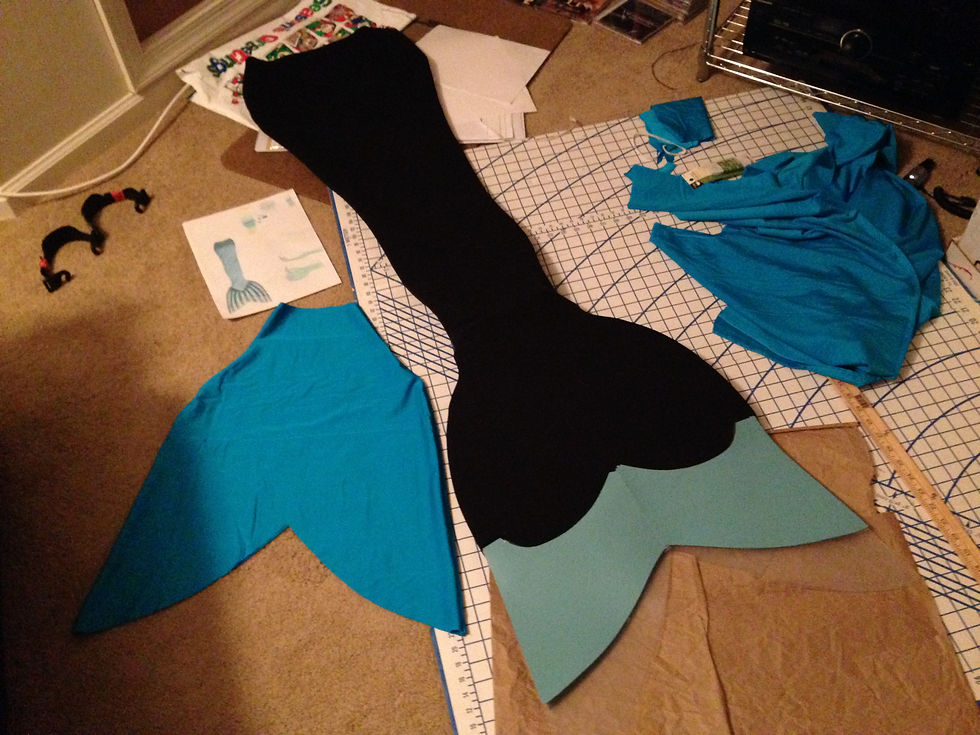
I think I did a pretty good job of creating a fabric and plastic casing for the monofin to fit into. I placed big plastic zipper meant for a coat in between the front and back layers of the tail so that I could remove the monofin for drying and cleaning. The zipper didn’t run to each edge, but left about an inch of an opening on either side that could act as drain holes for the water moving through the tail.

I looked everywhere online for neoprene. It was expensive. I bought a second hand wetsuit and got pretty far into the alteration process. My sewing machine and heavy duty needle couldn’t handle the neoprene. I finally decided that nylon thread, contact cement, and hand sewing weren’t going to work. I looked into neoprin (which is thinner than neoprene, but thicker than regular fabric) and found some online that would hopefully work. I spent a lot of time planning a scale design to paint onto the neoprin, or even an outer layer of fabric. I tested fabric paints and acrylic paints to see how they would look and how water resistant they would be on the neoprin. It was proving to be extremely difficult to accomplish a relatively uniform and symmetric pattern of scales. Another compromise – I needed to purchase a ready-made scale patterned swim fabric. I found one that I’ve still not seen anyone else use. I even bought enough to make myself a pair of scale leggings. When someone tells you to make sure your tail is tightly fitted, they mean it. Not only did I find my tail was loose and saggy the first time I swam, but I had to take it in over time as the neoprin lost its stretch. I also found it difficult to get in and out of such tight fabric, and eventually added a zipper down the back to my knees. I used bits of jagged fabric to create a decorative sort of dorsal fin as I had done on another mermaid costume in middle school.
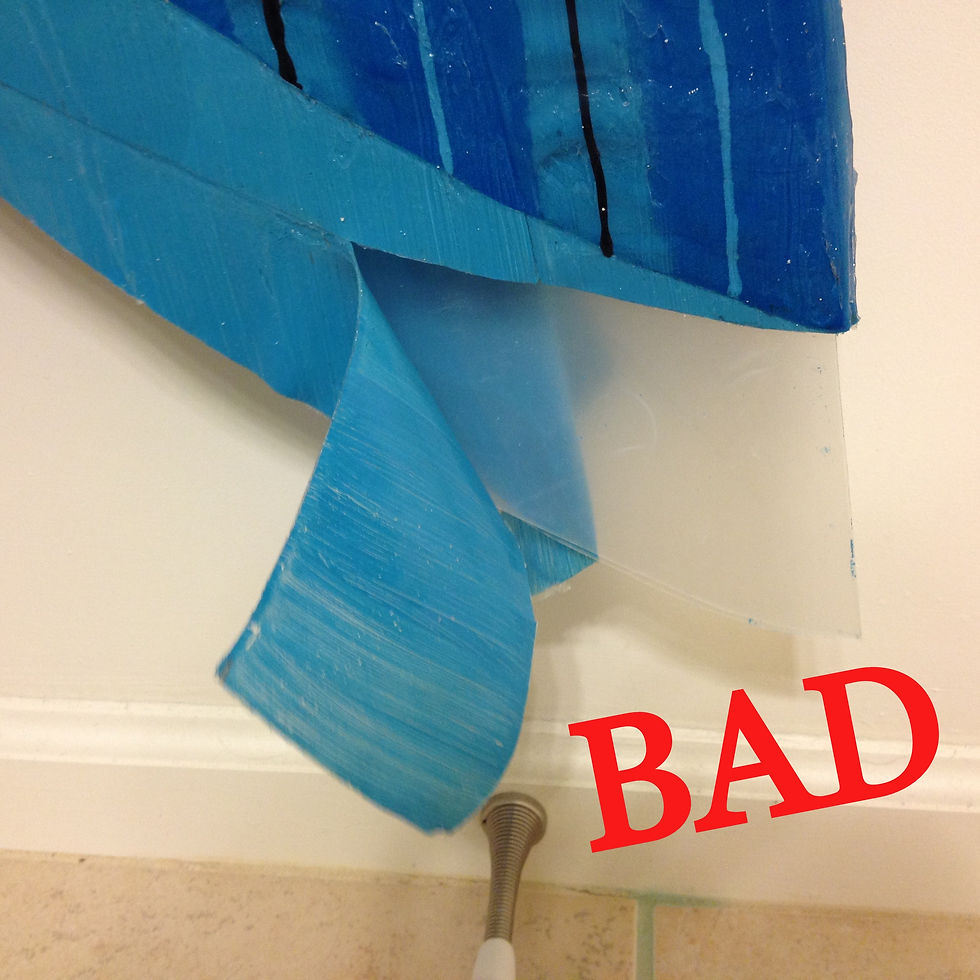
I asked for advice from other mermaids while going through the whole process. I had a plan to paint clear silicone over my tail – either the whole body, or just the fluke. I got mixed reviews on that idea. Sometimes you need to hear someone tell you they don’t like an idea to realize how much you like that idea. So I ended up using a plastic paint scraper to smooth some food grade silicone caulk onto just the fluke of my tail. I had also painted the plastic end bits with a pretty blue acrylic paint, so I thought perhaps the silicone would help keep it in place and water proof it. I also hoped the silicone would keep the fabric over the fluke in place, make it more hydrodynamic, and prevent it from getting damaged over time. It was not pretty up close, but from far away, it just looked shiny.

I knew the neoprin would stretch out. I knew I would probably scrape the fabric at my knees and heels. I knew the waist would crease my stomach and gap at the back when I sat up forward. I knew my heels and my knees and my hipbones would be prominent especially through wet fabric. I compromised on the fluke shape, the fabric, and the other materials – all in favor of getting the job done at all. Even though my tail wasn’t perfect, I was proud of it. It was a thousand times better than not having a tail at all. It was better than buying a tail that anyone else could have bought. Over the years, my tail got damaged. I added the dorsal zipper. I patched the area where the heels had worn the fabric. I re-glued the corners of the plastic pieces that were coming up. And eventually, some of the paint and silicone started to peel from the plastic. I knew I had to retire my tail.
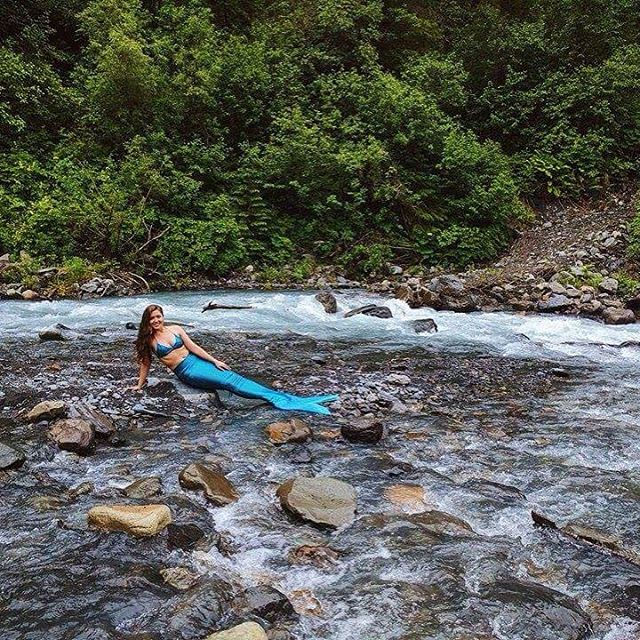
I had taken my homemade tail from Bermuda to Alaska. Of course I wanted to make another one; a better one. And then, my parents gifted me a Finfolk Productions fabric tail for my birthday. It was right on time. I love my homemade tail, my Finfolk fabric, and my newer Mernation silicone tail. They’ve afforded me opportunities to share my interests and my skills. Instead of telling people I was a mermaid at heart, I could show them I was a mermaid at heart.
I still want to make another tail – particularly, a silicone tail. You know I’ve done research. I’ve even considered making modifications to my Mernation tail as practice. I’ve made my own silicone shell top and other accouterments. Right now, I’m not quite ready to invest in all the materials and equipment without better sculpting skills and a one of a kind design. Hopefully it won’t take 7 years this time.
If you want to learn more about me, please visit my Instagram, Facebook, and YouTube channel.


That was very fun to read. I did not realize it took a lot to make a mermaid tail. You definitely did your homework on this topic because this is kinda like a documentary. Very well informed.